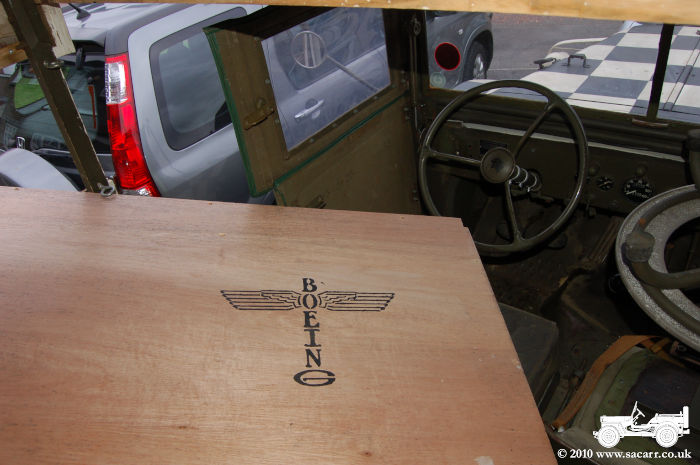
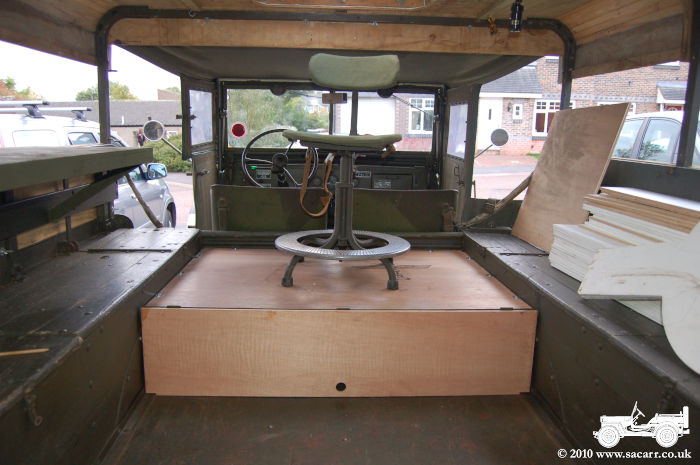
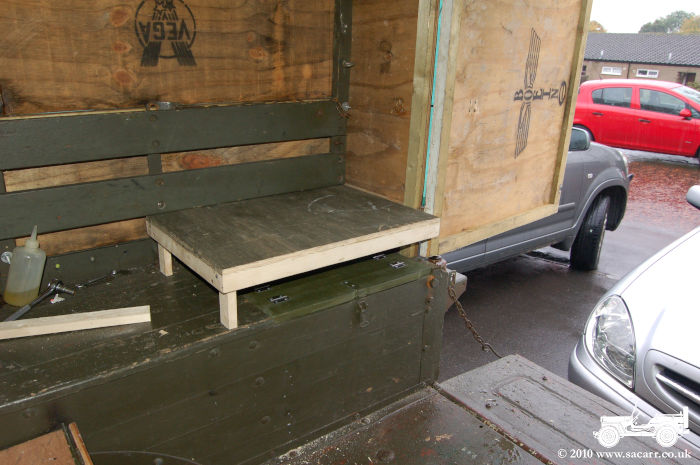
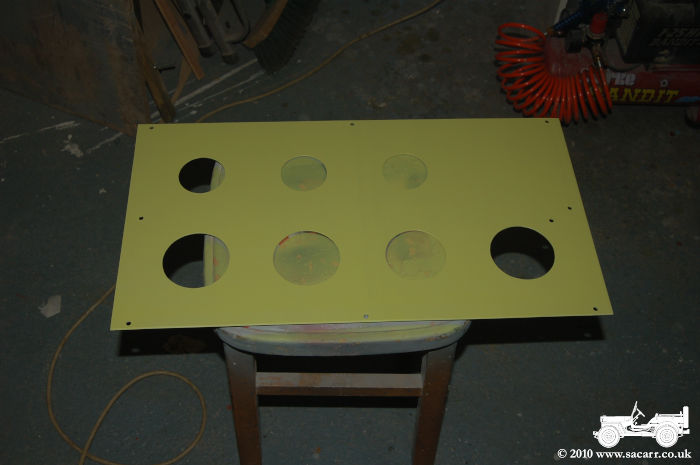
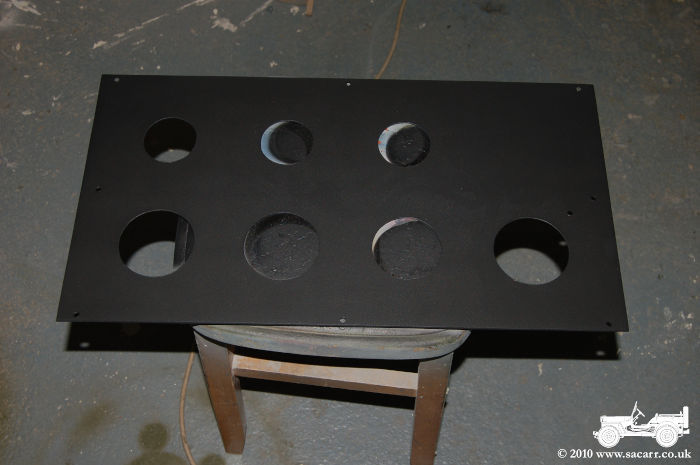
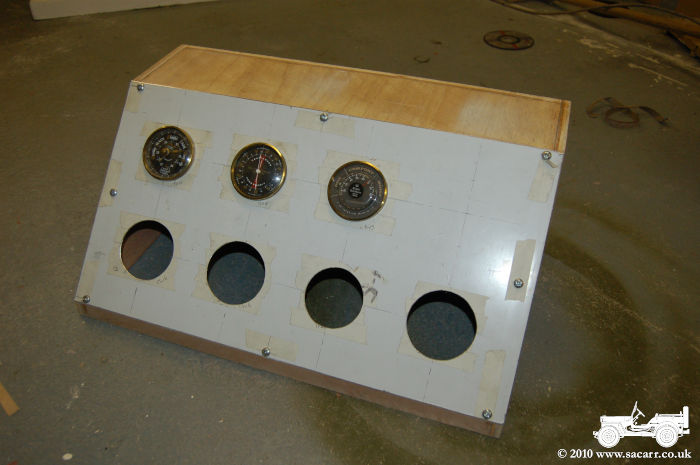
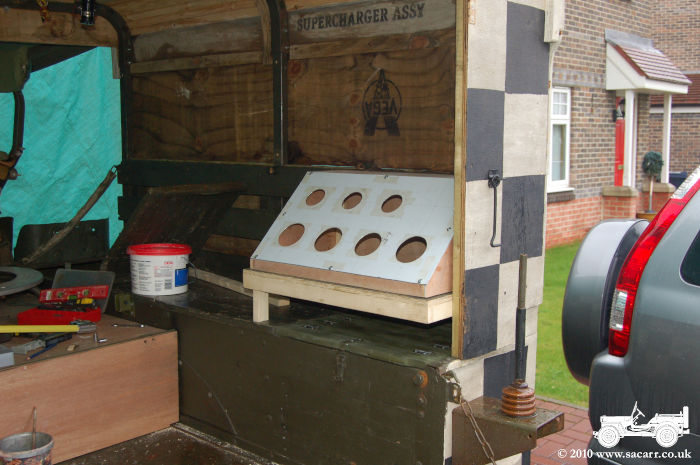
With the locker lid fitted, the table which was made yesterday, was fitted into place. This then allowed the instrument panel to be trial fitted to establish the point where the weather vane drive enters the panel. The aluminium panel was slightly over-sized, so that was filed down flush with the box.
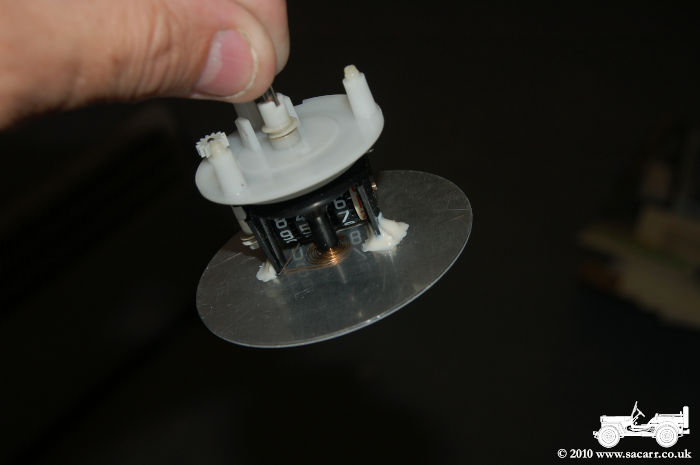
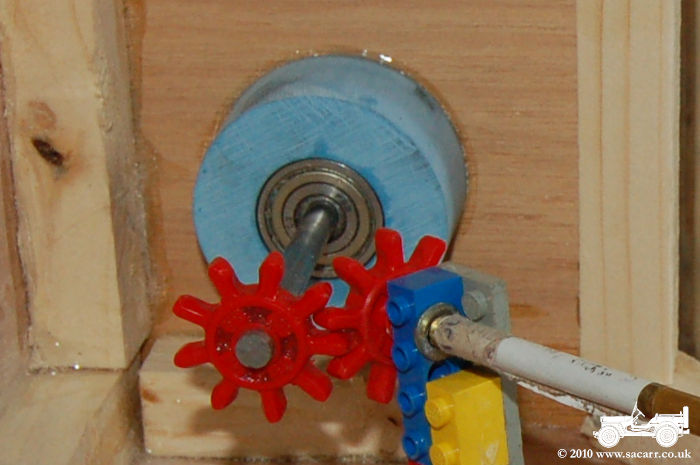
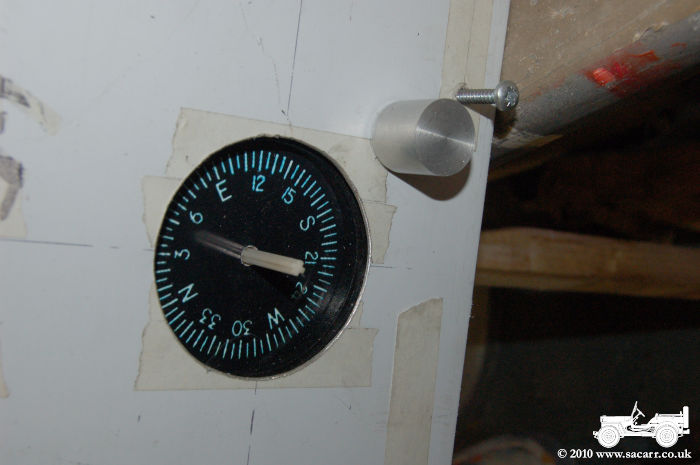
Once I knew the position where the weather vane drive goes, I began work on the wind direction indicator. The instrument needs calibrating depending on which direction the truck is parked in. Therefore, the face of the instrument can be rotated using the knob to the upper right of the dial. In the picture below, it is some plastic Lego wheels used for testing, but a turned aluminium version will be machined.
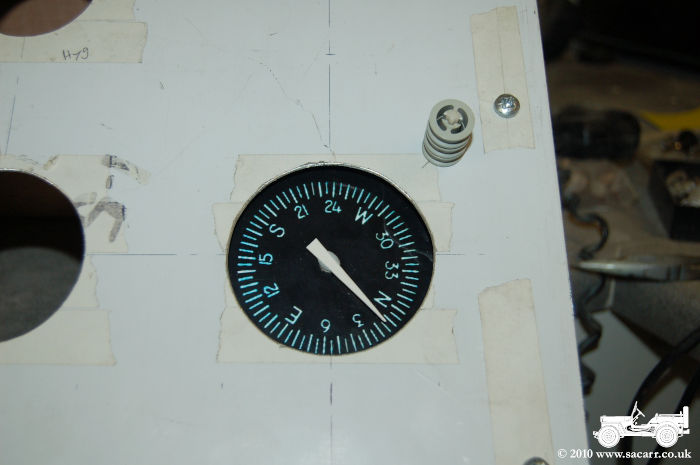
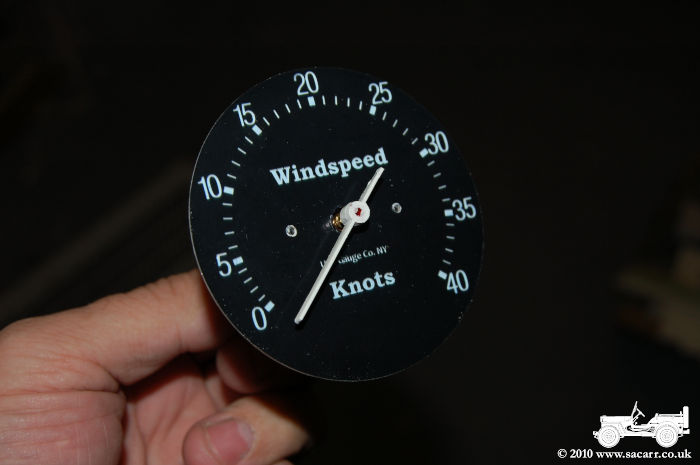
The instrument face is attached to a gear wheel, which is driven through an intermediate gear to the shaft for the adjusting knob. This gearing down allows finer adjustment of the dial position. The pointer shaft runs through the centre of the dial face gear and is seen above with a temporary styrene needle. A gear on the end of the pointer shaft will connect to the weather vane shaft via intermediate gears to make sure the direction of rotation is the same as the weather vane.